
After learning the technologies I needed to kick off my career as a developer, I was very passionate and excited about contributing to open source. I didn't know where to begin at first, after watching over 30 videos on Youtube and reading over 20 articles online, I was still very confused. I got a lot of help from senior engineers and was able to make a few contributions.
Now I am going to show you the step by step guide to making your first open source contribution.
How to make your first open source contribution?
Before you contribute to any project on open source, first you need to understand how the project works, the problem they are trying to solve, and the technologies they are using.
You can do this by reading the project's documentation. You can also ask questions in the project's chat room, the forum or the project issue tracker.
These are the ten steps I took when I was making my first open source contribution:
Find a project you want to contribute to.
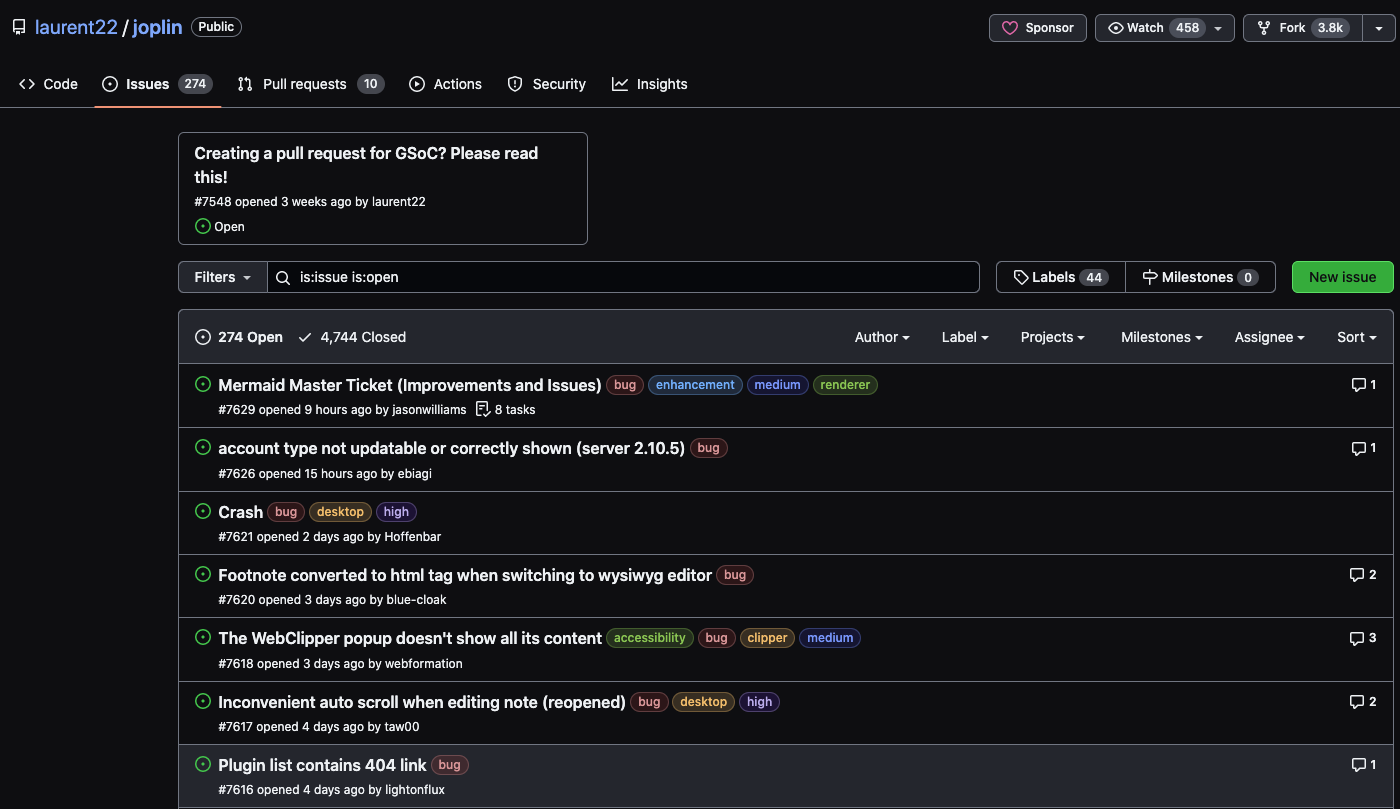
When I was reserching on the project I wanted to work on, I came across a project called joplin. I was very interested in the project and I wanted to contribute to it. I read the project's documentation and I was able to understand the project and I was ready to contribute to it.
Finding the issue you want to work on.
After finding the project I wanted to contribute to, I went to the project's issue tracker and I found an issue I wanted to work on. The issue was about adding a new feature to the project. I read the issue and I was able to understand the issue and I was ready to work on it.
Fork the project/repository.
Forking a project will instantly create a copy of the project in your Github account. You can make changes to the project without affecting the original project. To fork a project, go to the project's Github page and click on the fork button. After selecting on the issue I wanted to work on, I forked the project to my repository.

Cloning the project/repository.
After forking the project, you need to clone the project to your local machine. To clone the project, go to your github account and click on the project you forked. Click on the code button and copy the url. Open your terminal and run the command below:
git clone [url]
Creating a new branch.
After cloning the project, you need to create a new branch. When working with repositories, you need to create a copy of the main branch. You can make changes to the branch without affecting the main branch. To create a new branch, run the command below:
git checkout -b [branch-name]
Making changes to the project.
After creating a new branch, I made changes to the project by solving the issue I picked on earlier. You can make changes to the project using your favorite code editor. After making changes to the project, you need to add the changes to the staging area. To add the changes to the staging area, run the command below:
git add .
Committing the changes.
After adding the changes to the staging area, you need to commit the changes. Committing the changes will save the changes to your local repository. To commit the changes, run the command below:
git commit -m "commit message"
Pushing the changes to the remote repository.
After committing, you need to push the changes to your remote repository. To push the changes, run the command below:
git push origin [branch-name]
Creating a pull request.
After pushing the changes to your remote repository, on your github web browser, refresh the page, a pop-up button will appear that says compare & pull request .

A pull request is a request to the project owner to merge your changes to the project. To create a pull request, click on the pull request button.
After creating a pull request, you need to wait for the project owner to review your pull request. Create a video describing the changes you made and how you've solved the problem. In this stage, the project owner gives feedback to the changes you made. If the project owner approves your pull request, your pull request will be merged to the project.

Congratulations! You have successfully made your first open source contribution.
Conclusion
Making your first open source contribution can be very intimidating. But with the right guidance, you can make your first open source contribution. I hope this article has helped you to understand how to make your first open source contribution. If you have any questions, feel free to reach me on any of my social media. I will be happy to answer your questions.